Why I Almost Regretted My Rooftop Green Energy Journey
I still remember the sheer excitement of finally deciding to power my home with the sun. My family and I had calculated the savings, and I was so ready to cut ties with my expensive utility company. But right before signing the final contract, my installer asked a simple question that completely froze my plans. He asked exactly when I had last checked the condition of my upper attic space. Honestly, I had not looked up into that dark area since the very first day I moved into the house. That single moment of oversight almost cost me thousands of dollars in unexpected roof repairs.
Many homeowners face this exact same frustrating situation every single day. You save up your hard-earned money and get ready to reduce your monthly energy bills. You spend hours researching the best battery brands and efficient inverters. But nobody tells you that the dark, dusty space above your living room ceiling holds the ultimate veto power over your project.
It is incredibly stressful to think your ceiling might actually collapse under heavy new equipment. Every time you hear a strange creak from above on a windy night, your anxiety naturally spikes. You start worrying about hidden mold, rotting wood, or structural weaknesses spreading without you even knowing.
This lingering uncertainty easily drains your mental peace. You want a smooth, happy transition to green energy, not an endless, stressful money pit. The absolute worst feeling is having contractors give you a massive repair quote at the very last minute.
We all just want a safe, comfortable home for our families and a lower electricity bill at the end of the month. Instead, we end up feeling trapped and completely confused by technical construction terms. It feels like the whole energy industry expects you to automatically be a licensed structural engineer.
The good news is that you absolutely do not have to feel powerless or confused anymore. By taking a few smart, easy-to-follow actions, you can take total control of your home improvement project. Let us walk through this safety process together, just like I did, so you can protect your investment.
Your Ultimate Action Plan for a Pre-Solar Roof Check
Before anyone starts drilling heavy metal racks into your beautiful roof, you need to know exactly what is happening underneath it. Think of your attic as the skeletal backbone of your entire house. If the backbone is weak, the entire body suffers.
A healthy upper space ensures your new energy system will last for decades without causing property damage. We are going to break down this evaluation process into simple, manageable phases. You do not need a degree in architecture to spot glaring warning signs.
You just need a good flashlight, a dust mask, and a sharp eye for detail. By taking the time to verify these elements, you essentially guarantee a smooth installation day. Let us explore the absolute most important things you need to look out for.
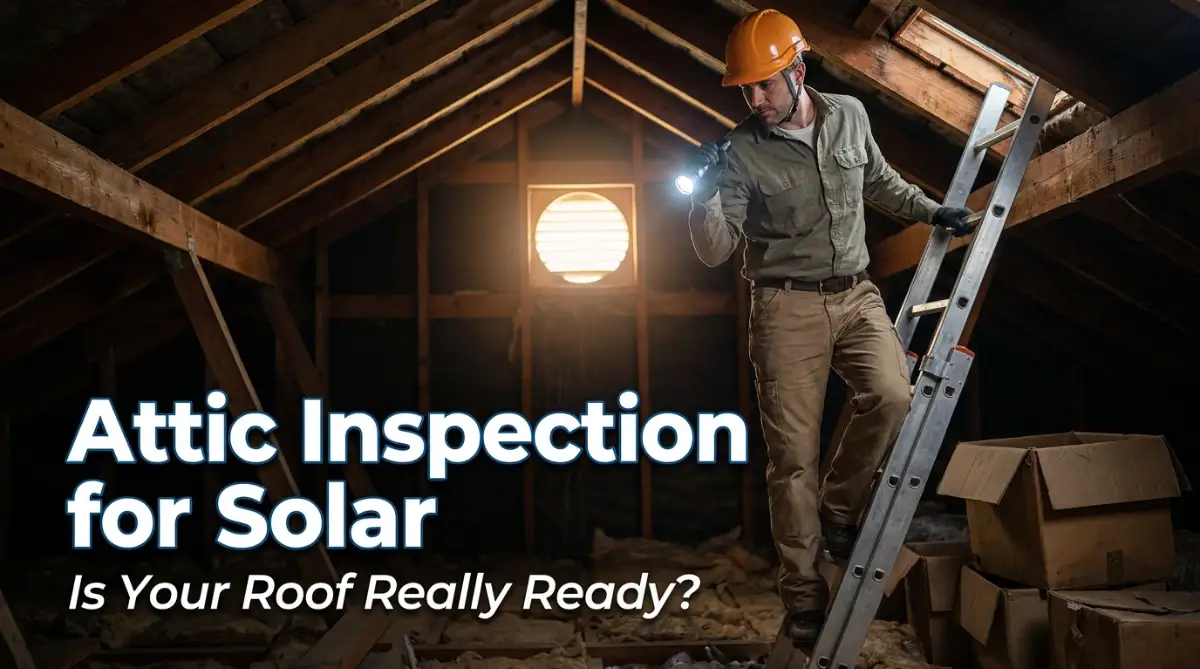
Phase 1: Gearing Up and Safe Entry Protocols
You should never just pop open the hatch and start walking around blindly. This dark area is full of exposed nails, extreme temperatures, and potentially dangerous building materials. Getting properly equipped is your first major priority.
Always wear a high-quality N95 dust mask to protect your lungs from airborne fiberglass particles. You will also want to put on a long-sleeved shirt, thick work gloves, and protective safety goggles. Safety gear prevents painful skin irritation and keeps dust out of your eyes while you look up.
When you climb the ladder, make sure it is firmly planted on a flat floor. Open the hatch slowly and push it out of the way safely. Shine your flashlight around before you even take your first step off the ladder.
Never, ever step directly onto the soft drywall floor between the wooden beams. If you step on the drywall, your foot will crash right through your living room ceiling below. Always walk strictly on the solid wooden joists or bring a sturdy piece of plywood to sit on.
Phase 2: Assessing Structural Weight Capacity
Your house was originally built to hold the weight of standard shingles, rain, and occasional snow. Adding dozens of heavy glass panels and metal mounting rails drastically changes the weight distribution. This is known in the construction world as an increased "dead load" on your house framing.
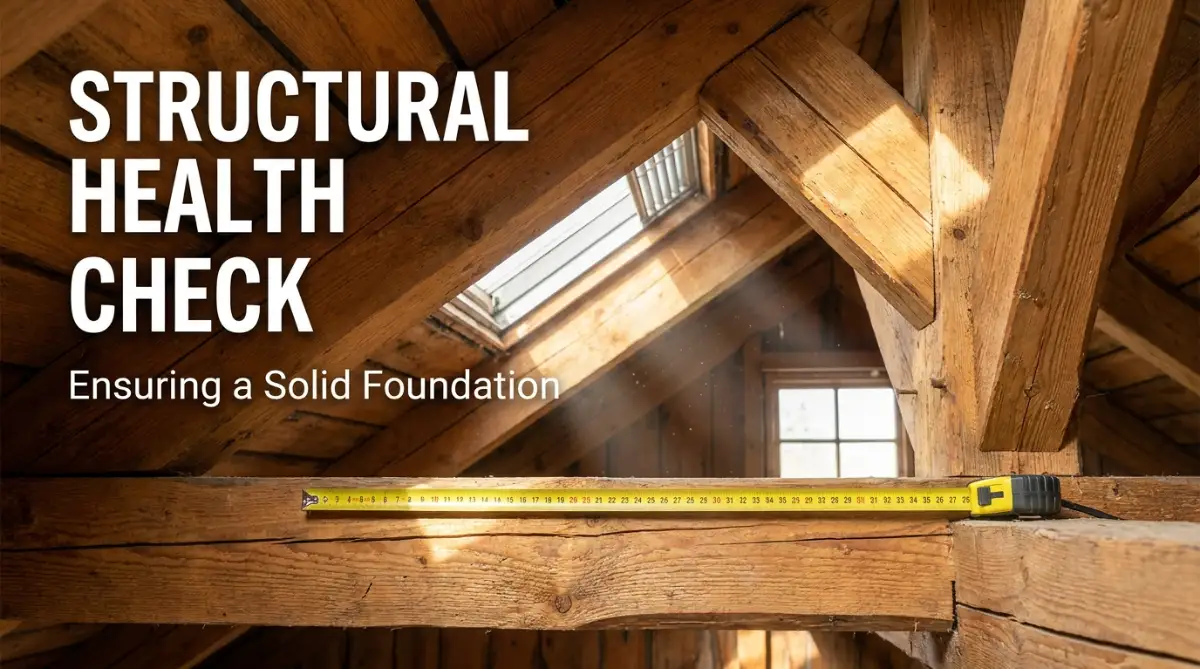
You need to carefully inspect the rafters or trusses that support your ceiling boards. Look directly at the long wooden beams running diagonally toward the peak of the roof. Are any of these beams visibly bowing, sagging, or bending under their own weight?
If a piece of wood looks like a curved banana, it definitely cannot support heavy electrical equipment. You should also check the metal connector plates, often called gusset plates, that hold the wood pieces together. Make sure none of these metal plates are rusting, pulling away, or popping out of the wood.
An engaging introductory video can make this complex topic much easier to understand. Watch this quick visual breakdown of what damaged roof trusses actually look like before you climb up your ladder.
Take a measuring tape and note the distance between your wooden rafters. Standard spacing is usually 16 or 24 inches apart. Your installation team will absolutely need these exact measurements to design a safe mounting system.
Phase 3: Hunting Down The Silent Enemy of Wood
Water is the absolute worst enemy of any wooden structure. A tiny, unnoticed leak can slowly rot away the strongest beams over just a few rainy seasons. When you install heavy equipment over rotted wood, the mounting bolts will simply pull out during a strong windstorm.
Turn off your flashlight for a moment on a bright, sunny day while standing safely inside the attic. Look up at the wooden boards above you. If you see little pinholes of sunlight shining through the solid roof deck, you have an active hole.
Turn your flashlight back on and scan every inch of the wood for dark, coffee-colored stains. These dark spots are the classic, undeniable footprint of dried water damage. You should also deeply inhale through your mask to check for a heavy, musty, damp smell.
I actually learned this the hard way when I completely ignored a tiny brown spot on my bedroom ceiling. My initial assumption was that it was just an old, harmless stain, but it turned out to be an active leak quietly rotting my main supporting beam. Always take a flathead screwdriver and gently poke any dark wood to see if it feels soft or spongy.
If the screwdriver sinks into the wood like a piece of soft cake, you have severe rot. You must get a roofing contractor to replace those specific boards before the solar team arrives. Installing over soft wood is a guaranteed recipe for a massive structural failure down the road.
Phase 4: The Oven Effect and System Airflow
Most people completely forget about how incredibly hot a closed roof space gets during the summer. When the sun beats down on your house, the temperature inside that dark space can easily reach 150 degrees Fahrenheit. This extreme heat has a direct impact on your green energy plans.
Many installers prefer to run the thick electrical cables down through the attic to hide them from view. Some systems even place small conversion boxes, called microinverters, near the roof deck. Extreme, trapped heat can significantly reduce the lifespan of these sensitive electrical components.
Furthermore, the new equipment on top of your house will change how wind flows over your shingles. This makes proper internal airflow more important than ever before. You need to verify that your house can actually breathe properly.
Look down near the edges of the floor, right where the roof meets the walls. You should see light coming through small vents, known as soffit vents. Make sure your fluffy pink insulation is not blocking these critical air intake holes.
You should also look up at the very top peak of the roof for an exhaust vent. Cool air must flow in from the bottom edges and push the hot air out through the top peak. If your space feels like a suffocating oven, you might need to install an exhaust fan first.
Dynamic Check: The Reality of Pre-Solar Preparations
Let us pause for a moment to clear up some common confusion surrounding this topic. There is a lot of bad advice floating around on social media regarding home energy upgrades. Understanding the facts will save you a lot of unnecessary panic.
The Common Myth: You need to completely replace your entire roof structure before getting clean energy. Many salespeople push this idea to inflate your overall project cost.
The Actual Reality: Most modern homes are perfectly capable of handling the extra weight without major modifications. You usually only need targeted, minor repairs in specific weak spots.
The Common Myth: A quick visual glance from the hatch is more than enough to verify safety.
The Actual Reality: Water damage and termite activity love to hide in the deep, dark corners. You have to physically move around and inspect the edges to get a true assessment.
Phase 5: Securing the Electrical Path Against Pests
Your new energy system will involve thick copper wires carrying high amounts of electricity. The absolute last thing you want is a family of hungry mice chewing on those expensive new wires. Rodent damage is a massive fire hazard that you must address immediately.
Shine your bright light across the top of your fluffy insulation. Look closely for small, dark droppings or heavily flattened paths where animals have been running. If you see big piles of torn-up paper, leaves, or hollowed-out insulation, you likely have an active nest.
Squirrels, raccoons, and mice love to use these warm spaces to hide from the cold weather. If pests have already chewed on your existing house wires, they will definitely chew on your new energy cables. You must call a professional pest control service to clear the area completely.
Once the pests are removed, seal up any holes or gaps on the outside of your house. Install sturdy metal mesh screens behind all of your air vents. A clean, pest-free environment ensures your electrical connections remain safe and fully functional for years.
A Quick Health Comparison Guide
To make your evaluation easier, keep this simple mental checklist handy while you look around. Knowing the difference between normal wear and active danger is incredibly helpful.
Using a simple guide like this keeps your mind focused while you are up in the dark. It stops you from feeling overwhelmed by the sheer amount of things to look at.
Phase 6: Documenting Everything for Your Installation Team
Your memory is not enough when it comes to expensive home construction projects. You need hard, visual evidence of exactly what you found up there. Take your smartphone and snap dozens of clear, bright pictures of every single corner.
Take wide shots to show the overall layout of the framing and insulation. Then, take extremely close-up macro shots of any water stains, rust, or suspicious cracks you spotted. If you see a potential issue, place your measuring tape next to it for scale before taking the photo.
You should also record a short, continuous video walking through the space while talking out loud. Describe what you are seeing, smelling, and touching as you record. This video becomes an incredibly valuable tool for your contractors.
When your sales representative or project manager arrives, hand them this visual portfolio immediately. Showing them clear photos of your clean, healthy framing speeds up the engineering approval process immensely. If there is a problem, showing them the photos prevents them from charging you for a separate, expensive inspection.
Knowing When to Call for Backup
DIY checks are fantastic for getting a baseline understanding of your property. However, you must recognize your own personal limits when dealing with structural safety. If you feel dizzy, unsafe, or unsure at any point, climb down the ladder immediately.
If you find extensive black mold spreading across multiple wooden boards, do not touch it. Breathing in heavy toxic mold spores can put you in the hospital. You absolutely need a certified remediation team to handle massive fungal growths safely.
Similarly, if you discover a main support beam that is completely cracked in half, back away. Do not attempt to nail a new board to it yourself if you lack carpentry experience. Structural loads are complex, and a botched DIY repair could easily trigger a localized collapse.
Hiring a licensed home inspector for a focused evaluation usually costs a few hundred dollars. This small fee is a brilliant investment for absolute peace of mind. A professional will catch the tiny, hidden details that an untrained eye might easily glide right over.
Ultimately, your home is your biggest financial asset and your safest sanctuary. Protecting the physical structure should always come before adding shiny new upgrades. Taking the time to verify these elements ensures your green energy journey is filled with joy, not regret.
You are now heavily armed with the right knowledge to take action today. Grab your flashlight, put on your safety mask, and go meet your house from the inside out. Your future self will definitely thank you for being so deeply proactive and responsible.
Next-Level Strategies for a Solar-Ready Roof Space
When I first started looking into renewable energy, I thought buying the best hardware on the market was the only thing that mattered. I spent countless nights comparing different brands, wattage outputs, and long-term efficiency ratings. But over time, I realized that the physical environment supporting those systems is actually the absolute secret to long-lasting success. You can buy a world-class engine, but if you put it into a rusty, falling-apart car frame, you will eventually break down on the side of the road.
Your upper roof space requires some advanced proactive care to truly handle a massive green energy system. Let me share some highly effective insider strategies that construction professionals use to ensure everything runs smoothly from day one. These are the small, hidden details that most installation companies will never bother to mention during their initial sales pitch. By applying these methods, you set yourself up for total peace of mind and avoid unexpected delays.
One of the smartest things you can do today is to monitor the daily temperature swings right above your living room ceiling. Go to your local hardware store and buy a cheap digital thermometer that records the highest and lowest daily temperatures. Place this thermometer right in the middle of your insulation and leave it there for a few sunny, hot afternoons.
If you notice the temperature spiking insanely high, you know immediately that you have a severe airflow problem. Addressing this extreme heat is completely non-negotiable because excessive temperatures will physically degrade your expensive wiring over time. I learned this harsh reality when researching what really causes electric vehicle battery degradation and how to stop it—heat is always the ultimate enemy of modern electrical efficiency. If you want to understand proper thermal management, you can read the Department of Energy's guidelines on unvented, conditioned attics and ventilation systems.
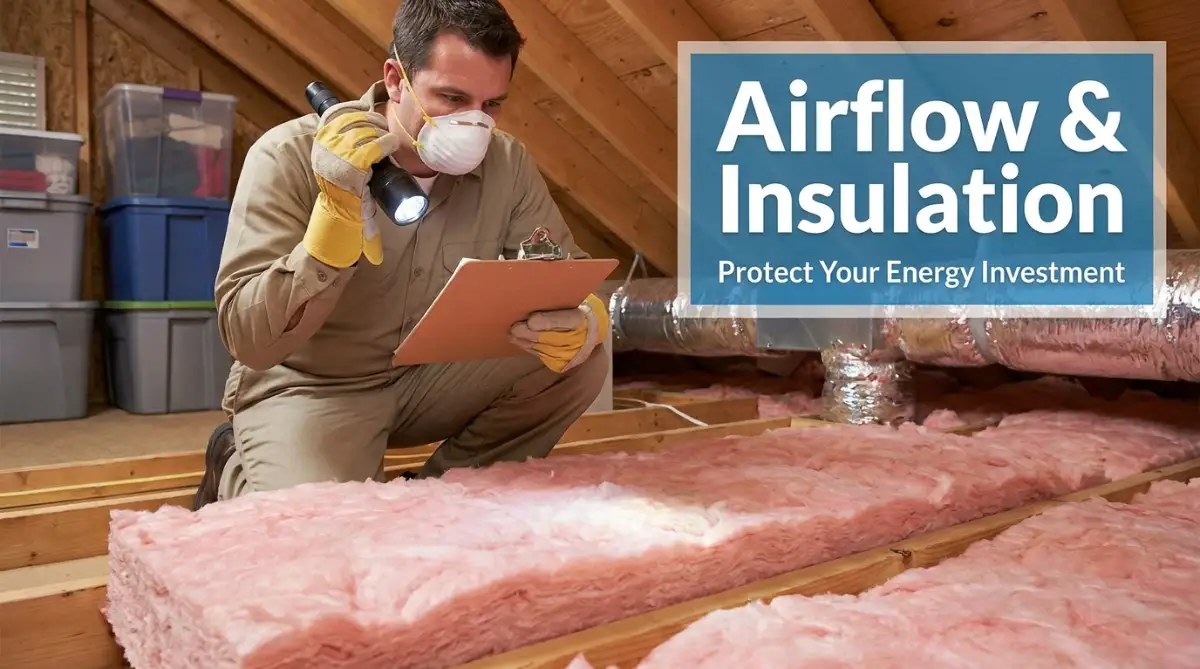
Another brilliant pro-level strategy involves checking the actual depth and condition of your blown-in thermal insulation. Over many seasons, cheap fiberglass materials tend to settle, flatten, and completely lose their ability to block heat transfer. When you add dozens of dark glass panels to your property, they absorb a massive amount of solar radiation throughout the afternoon.
If your insulation is heavily compressed, all that absorbed heat will sink directly into your living space below. You will end up running your main air conditioner twice as hard just to stay comfortable inside your own house. This totally defeats the entire financial purpose of generating your own free electricity in the first place! Take a wooden ruler up there and make sure you have a thick, fluffy layer of protection covering every single inch of the floor.
A Quick Tip From My Own Mistakes: Never let a hurried installer place a heavy system inverter inside a poorly ventilated, hot upper space. These highly sensitive computer components convert raw energy into usable household power, and they desperately need cool, fresh air to survive. Always insist on mounting the main inverter in a shaded spot on the exterior wall of your garage instead.
You also need to treat your home upgrade like a serious business transaction to protect your overall financial future. Many homeowners blindly accept whatever loan the solar company offers without understanding the long-term impact on their property value. I always advise my friends to carefully review steps to protect your personal assets from business loan risks before signing anything binding. This same cautious, highly protective mindset applies perfectly when making major structural modifications to your primary residence.
If you find that your framing actually needs expensive reinforcements, do not panic and abandon your green energy dreams just yet. You have multiple smart financial tools available to fix the structure long before the delivery trucks arrive. For example, learning how to unlock your home's equity even if your finances are struggling can easily cover the cost of a professional carpenter. Some people even explore whether you can get a home equity loan with bad credit to fund repairs, keeping their personal savings completely untouched.
Taking the time to strengthen the wooden backbone of your house is the absolute ultimate form of proactive ownership. You are directly preventing future disasters and ensuring your expensive hardware stays safely bolted down during severe storms. The National Renewable Energy Laboratory's findings on rooftop structural limits frequently highlight how proper framing preparation prevents catastrophic hardware failures.
The Costly Traps You Must Dodge During Your Inspection
Let me be completely honest with you about what happens when people decide to rush this foundational process. I have seen incredibly excited families skip their structural checks entirely just to get their systems turned on a few weeks faster. They quickly sign the paperwork, the panels go up, and everything seems perfectly fine for the first few months. Then, the first massive rainstorm hits, and their beautiful ceiling turns into a dripping, soggy nightmare.
One of the most devastating mistakes you can make is ignoring tiny, faded water stains on the wooden rafters. A lot of people see a dry, light brown spot and assume it was just a small leak that magically fixed itself. Water never fixes itself; it just hides quietly until the weather conditions are right to attack your house again. If you bolt a heavy metal mounting rack over a weakened, previously wet board, the wood will eventually splinter under the intense pressure.
I highly recommend reading up on understanding the unspoken risks of installing solar panels on an aging residential roof structure to truly grasp this hidden danger. When the damaged wood cracks, the mounting bolts naturally loosen, creating a direct path for rainwater to pour straight into your house. You will then have to pay a crew to remove all the panels, fix the broken wood, replace the shingles, and reinstall the entire system. This totally preventable mistake can easily erase three or four seasons of your hard-earned electricity savings in a single day.
Another massive trap is accidentally suffocating your house while trying to aggressively improve your energy efficiency. Sometimes, well-meaning homeowners decide to push extra insulation deep into the tight corners of their roof edges to stop drafts. By doing this, they completely block the small soffit vents that allow fresh outdoor air to circulate inside.
When you block the natural airflow, moisture from your daily hot showers and cooking gets permanently trapped up there. This trapped humidity turns the dark space into a perfect, warm breeding ground for toxic black mold. The mold will quietly eat away at the wood and eventually spread into your home's main air conditioning ducts. According to technical assessments of individual solar rooftop potential, maintaining proper structural airflow is just as necessary as getting perfect sun exposure.
Finally, please avoid the dangerous temptation to become an amateur structural engineer on a random Saturday afternoon. I have heard absolute horror stories of people hammering random pieces of scrap wood against their rafters to "strengthen" them. Roof framing is a highly calculated mathematical system of weight distribution, tension, and precise load-bearing angles.
If you blindly nail thick boards into the wrong spots, you can actually create uneven pressure points that weaken the entire structure. When high winds hit your new equipment, those uneven pressure points can cause the shingles to warp or visibly sag. You should always trust a licensed contractor to reinforce your framing based on strict, modern building codes.
Your Empowering Game Plan Moving Forward
We have covered a massive amount of technical ground together today, and I know it might feel a little overwhelming right now. But I really want you to take a deep breath and realize how much power you currently hold in your hands. You are no longer just a passive consumer hoping for the best; you are an informed, highly proactive homeowner protecting your biggest asset.
The exciting path to clean, affordable energy should never be paved with constant anxiety or hidden structural dangers. By taking a few hours to put on a mask, climb that sturdy ladder, and carefully scan your upper space, you are securing your family's future. You now know exactly how to spot the silent threats of active water damage, weak wood, and suffocating heat.
Think of this entire evaluation process as the ultimate insurance policy for your upcoming home upgrade. You are guaranteeing that the beautiful, modern glass panels on your house will sit on a foundation that is rock solid. When those massive windstorms roll through your neighborhood, you will sleep perfectly soundly knowing your hardware is safely anchored.
Start by setting a firm date this coming weekend to get up there with your brightest flashlight and your smartphone camera. Document every single corner, check the ventilation paths, and test the wooden beams for solid, dry strength. If you find anything suspicious at all, bring in a professional contractor long before the panel installation team ever arrives on your property.
You are making a brilliant, forward-thinking choice to switch to renewable power and drastically reduce your monthly expenses. Just make sure the invisible backbone of your house is fully prepared to support that exciting new chapter. I promise you that the absolute peace of mind you gain will be worth every single second you spend preparing.
Honest Answers to Your Biggest Roof Prep Questions
How long does a pre-solar attic check usually take?
A thorough personal walkthrough usually takes about thirty to forty-five minutes if you move carefully and document everything properly. You want to take your time scanning the wood, checking the vents, and taking very clear photos for your contractor. It is a very short time investment that provides decades of absolute structural confidence.
Do I need to remove all my old insulation before getting panels?
No, you generally do not need to remove existing insulation unless it is completely soaked with water or heavily infested with pests. If your current fiberglass or cellulose layer is dry but simply flattened over time, you can usually just add more on top. A professional can easily blow a fresh, thick layer over the old material to fully restore your thermal barrier.
Can solar panels actually fix an existing roof leak?
Absolutely not, and this is a very dangerous myth that some dishonest salespeople might try to tell you just to close a deal. Placing a large glass panel over a leaky shingle only hides the physical problem from view while the wood rots underneath. You must completely repair any active leaks and replace damaged shingles before any new hardware is mounted.
What happens if my roof framing is too weak?
If a licensed engineer determines your wooden trusses cannot hold the new dead load, you will simply need a process called retrofitting. A professional carpenter will install additional support beams, known as sister boards, directly alongside your existing rafters to double their strength. It is a very common, straightforward construction fix that makes your house incredibly sturdy against high winds.
Will a hot attic affect my new solar inverter?
Yes, extreme heat can severely shorten the lifespan of sensitive electronic inverters if they are installed inside a poorly vented space. The intense trapped heat forces the internal cooling fans to run constantly, which inevitably leads to premature hardware failure. Always request that your main electrical components be installed on an outside shaded wall or in a temperature-controlled garage.
I am so incredibly proud of you for taking the time to educate yourself before making this massive home investment. My own journey to clean energy was a bit bumpy at first, but seeing my electricity bill drop to zero makes it all entirely worth the effort. Trust your instincts, demand high-quality work from your contractors, and get ready to enjoy the amazing financial freedom you truly deserve!
Disclaimer: The information provided in this article is for educational and informational purposes only and does not constitute professional structural engineering, financial, or legal advice. Always consult with a licensed contractor, electrician, or certified home inspector before making major structural modifications to your property.